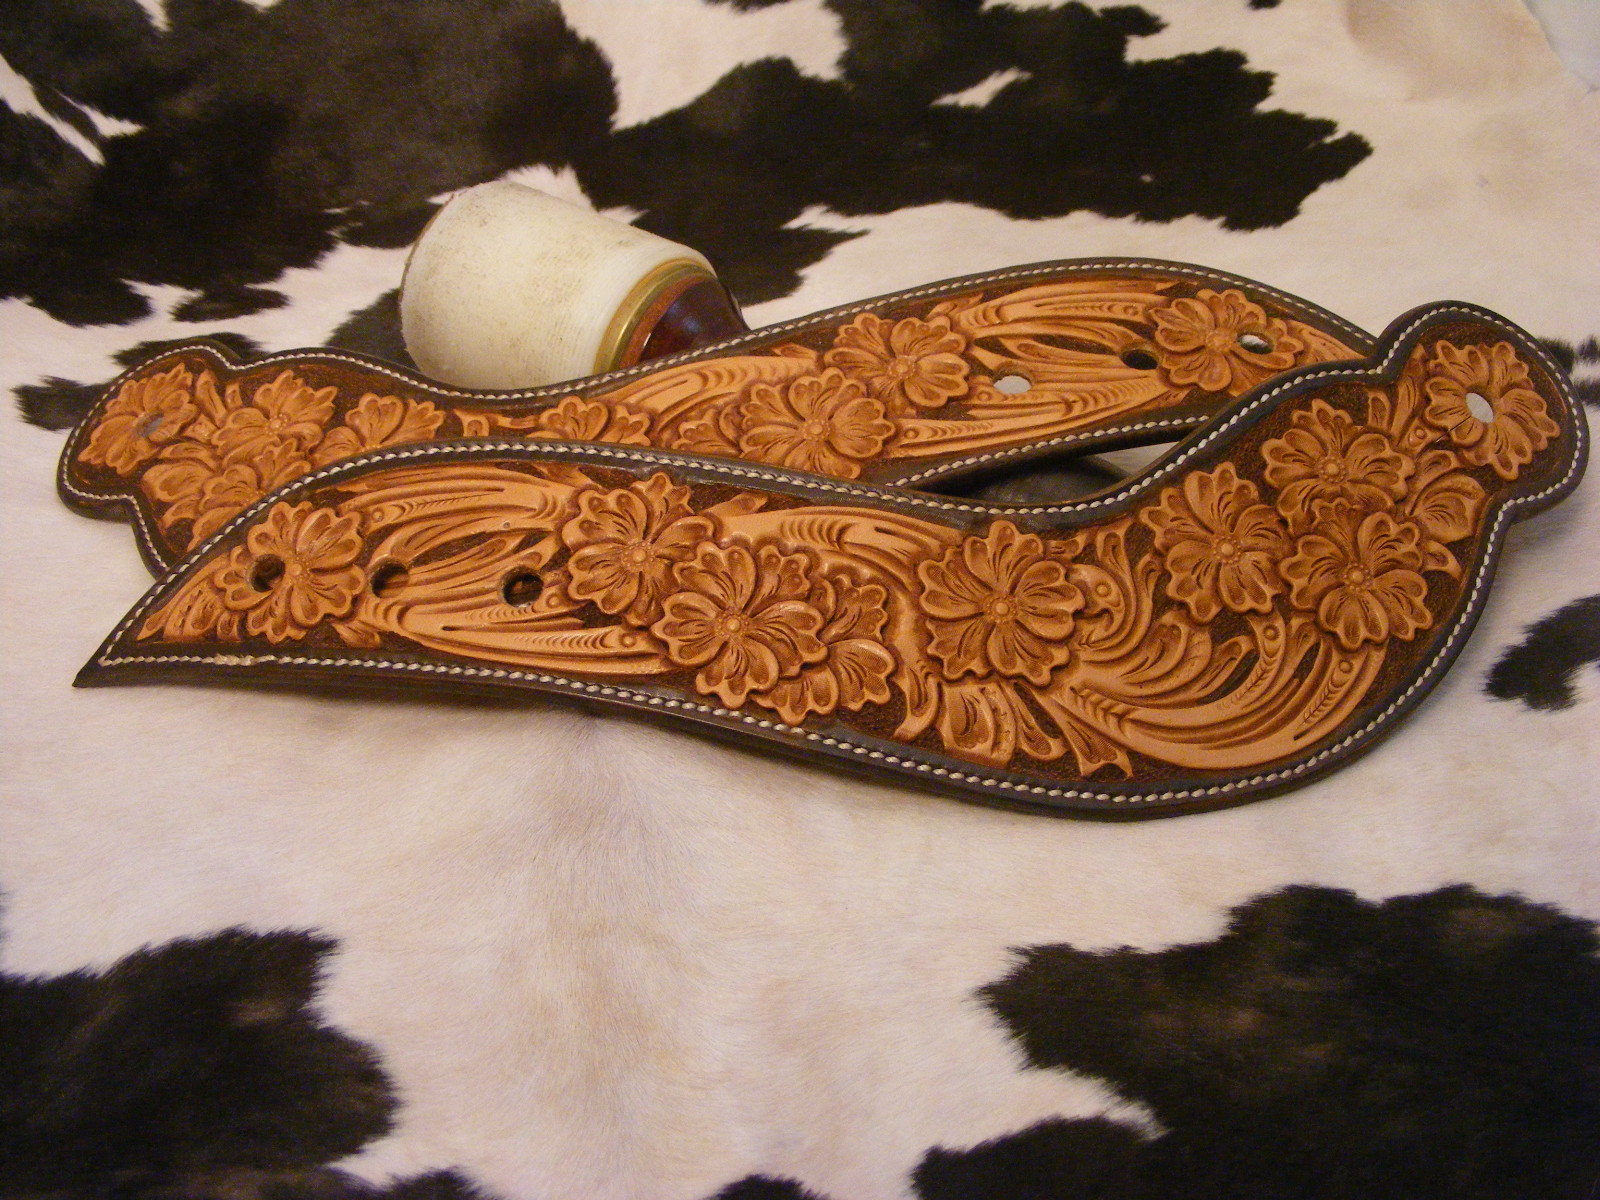
Here are a couple of spur straps that I made for the table at the cowboy gathering. You may recognize the floral "doves" from the antique tutorial. I finally got them edged and finished. I have found my new favorite spur strap buckles with these Horseshoe Brand buckles.
Wednesday, March 7, 2012
Monday, March 5, 2012
Another Double A Belt
The fellas over at Double A Breakaways came through with another belt order. This one was a straight belt with a dyed background and decorative cut liner. Thanks again to DJ and Mike. Hope you like it.
Right now I'm finishing up some knife holster sheaths for my trade show table. The first show of the year we are doing is this weekend, March 9th and 10th, right here in LaGrange. The Best Little Cowboy Gathering will kick off Friday at 4 and run through Saturday. Jake Hooker and many others are playing, hope to see you there. RW
Sunday, February 26, 2012
Chainsaw Chap Remodel
Well here is the latest project out of the shop. It is a set of protective chainsaw chaps that I remodeled to resemble a pair of chinks. There are quite a few pics to see some of the detail spots I put on it so bear with me.
This is how they started out.
I cut all of the canvas straps off, rounded the bottoms, added a little fringe, and put a tooled belt on them. Here's how they turned out. The legs are a black canvas material over a layer of kevlar.
Here's a close up of the yoke section with his brand in the tooling. These have a full solid yoke across instead of seperate sides like normal chaps. I used all Jeremiah Watt stainless steel buckles.
This is Doug's name fingercut into the liner of the belt.
And a flying armadillo put into the liner of the yoke section.
This is how they started out.
I cut all of the canvas straps off, rounded the bottoms, added a little fringe, and put a tooled belt on them. Here's how they turned out. The legs are a black canvas material over a layer of kevlar.
Here's how they look on my underpaid professional model. He's working on becoming a plus size model soon.
I made the buckle straps wide so they hopefully would grab more of the chap to pull around the leg for more protection.
Here's a close up of the yoke section with his brand in the tooling. These have a full solid yoke across instead of seperate sides like normal chaps. I used all Jeremiah Watt stainless steel buckles.
This is Doug's name fingercut into the liner of the belt.
And a flying armadillo put into the liner of the yoke section.
All of the stitching was done on my new Cobra Class 4 that is by far worth every penny. It breezed through this project with no complaints.
They were done and delivered in time for his carving exhibition at the Rodeo Austin Cowboy Breakfast. If you're around Austin area, go downtown and check out some of his work in progress, March 2nd, 6am to 9am. On to another belt and preparing for the spring garden. Take care, RW
Thursday, February 9, 2012
New Machinery
My new sewing machine has finally arrived. This machine will open new opportunities for the shop. It will be able to handle many things my old machine could not, such as saddle blankets, saddle skirts, padded items, etc. It will also give me better control of stitch length on my other goods. Thanks to Steve at Leather Machine Company for the machine.
When I opened the machine package it had a "test run" still attached to it from Steve testing and setting up the machine. It is something I would absolutely never come close to doing, but impressive all the same.
That's probably around a 1" thick hunk of leather stitched perfect.
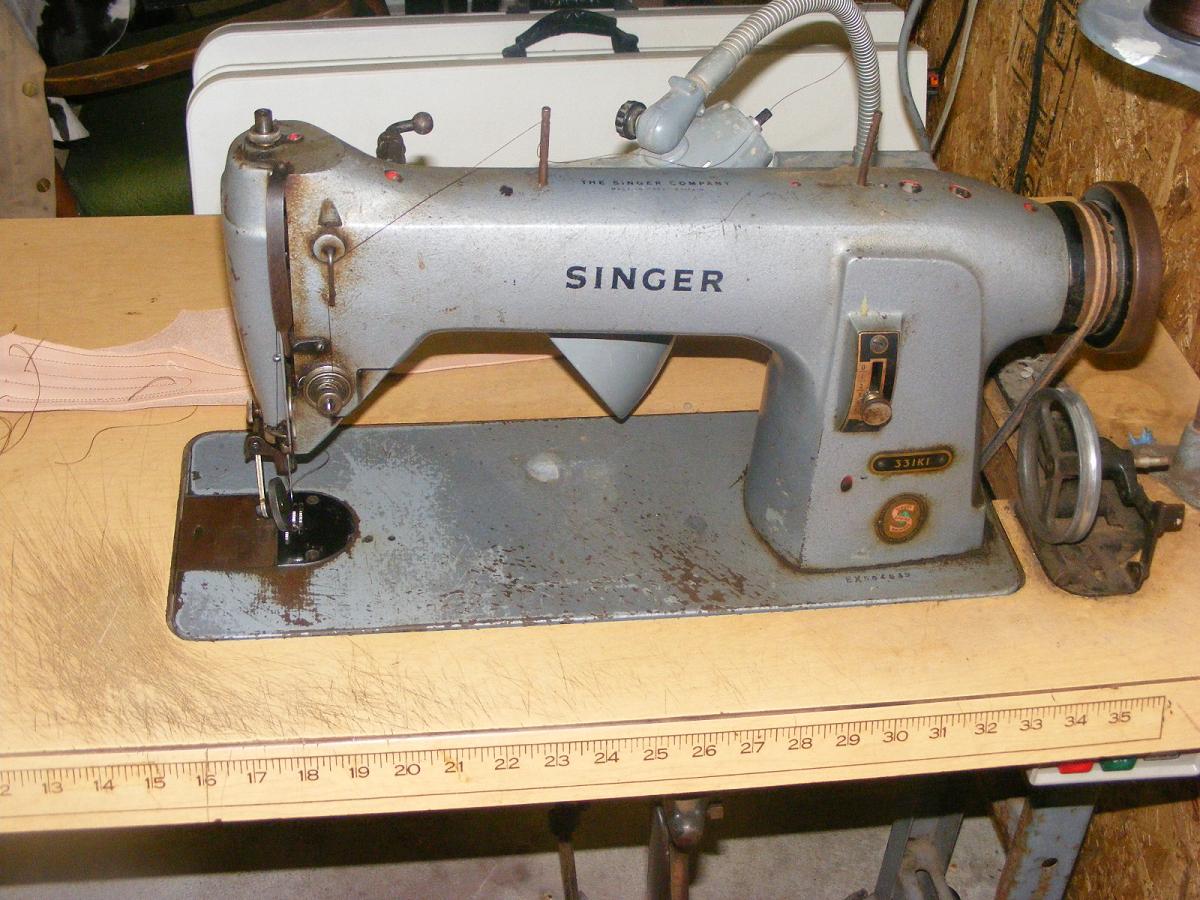
Also while I was down in Lockhart last weekend, my folks ran across a nice find at an estate sale so I went over and picked up a good running Singer 331K. It is already setup with a roller foot and good feed dogs for doing smaller work such as wallet liners, etc. I'll have a big learning curve to overcome on both of these machines, so I'll be burning through my scrap pile for the next week or so. Hopefully some work will be rolling off of these soon. I have a really neat project on the bench as we speak that I should have done in the next couple of weeks. Stay tuned.....
P.S. The Ferdco 440 is still for sale and needs to move so I can have room for the new machine. Take care, RW
When I opened the machine package it had a "test run" still attached to it from Steve testing and setting up the machine. It is something I would absolutely never come close to doing, but impressive all the same.
That's probably around a 1" thick hunk of leather stitched perfect.
Also while I was down in Lockhart last weekend, my folks ran across a nice find at an estate sale so I went over and picked up a good running Singer 331K. It is already setup with a roller foot and good feed dogs for doing smaller work such as wallet liners, etc. I'll have a big learning curve to overcome on both of these machines, so I'll be burning through my scrap pile for the next week or so. Hopefully some work will be rolling off of these soon. I have a really neat project on the bench as we speak that I should have done in the next couple of weeks. Stay tuned.....
P.S. The Ferdco 440 is still for sale and needs to move so I can have room for the new machine. Take care, RW
Tuesday, February 7, 2012
Rifle Package
I had this order come in for a rifle sling, butt stock ammo cuff and a pancake style knife sheath. The sling was built to match one that the customer provided. The sling is basketstamped, dyed with mahogany and has the customers brand cut in. The cuff is dyed to match and will hold ten 22 mag shells. The laced holes are reinforced to prevent stretching when pulling it tight. This package was a fun project. It was tough getting a good picture of the whole setup but hopefully you can get the idea. RW
Friday, January 27, 2012
Shop Update
There is a lot happening behind the scenes, I promise. I have a few things on the bench in various states of completion. I should have some pictures of things up soon. I'm still waiting on the new sewing machine so there are a few things on hold for that. But to please the masses that check this thing (which probably is just my Mom), here is a quick sketch.
I am very intrigued by the life of the old trappers and fur traders. And more than that, the lives of their wives or loved ones. These guys were gone for months at a time doing their job, maybe they returned, maybe they didn't. No cell phones to check in five times a day. They were way up in the mountains so there was probably not even a telegram station, yet the wives kept the home and waited. How would you know when to give up? Dave Stamey's "Crazy Mary" is probably one of the best songs I've ever heard and it is about this exact situation. So here's my Ode to the Trapper sketch.
Saturday, January 14, 2012
Antique Tutorial
I always say that I antique all of the items I make. Some people have asked exactly what that means so I figured I'd show how I do it. There are different ways to achieve this, but this is the method I was shown and it works for the look I'm shooting for.
We'll start with some spur straps that are already tooled (these are two tone, so they have been dyed also), oiled and a light layer of Neat-lac has been applied and dried. This is an important step because the Neat-lac acts as a resist to the antique paste we will apply. There are other resists on the market, but once again, this is what I like. It is also important to let the leather dry between all of these steps to get good even looks.
You hopefully can see the difference between the one already antiqued (left) and the one without.
Take some antique paste and cut up squares of wool skin. The wool skin is trimmed down to make a good buffing rag. Make sure to have enough wool, you do not want to get in the middle of doing this and have to cut and trim more. You want to get the excess paste off before it starts to setup.
Now with the paste applied, it looks ruined but really it's just a mess right now.
I then take a paper towel and wipe of the major amount. Use a clean section each swipe over to get the stuff from the top while leaving paste in the indentions.
Then I take the wool skin pieces and start using a little elbow grease to get the paste off. If the wool skin gets dirty, get a clean one. You are trying to remove the extra paste, not just smear it around. Continue wiping until you get the desired look. The wool skins should get progressively cleaner. The only reason I went to using a paper towel for the first wiping was to save wool skins. I use them for the final cleans and buffing of the paste.
After letting it sit a little, I will rub over it again to kind of buff the high spots. Now it should match pretty close to the other one.
We'll start with some spur straps that are already tooled (these are two tone, so they have been dyed also), oiled and a light layer of Neat-lac has been applied and dried. This is an important step because the Neat-lac acts as a resist to the antique paste we will apply. There are other resists on the market, but once again, this is what I like. It is also important to let the leather dry between all of these steps to get good even looks.
You hopefully can see the difference between the one already antiqued (left) and the one without.
Here's a picture of the project before beginning.
Now with the paste applied, it looks ruined but really it's just a mess right now.
I then take a paper towel and wipe of the major amount. Use a clean section each swipe over to get the stuff from the top while leaving paste in the indentions.
Then I take the wool skin pieces and start using a little elbow grease to get the paste off. If the wool skin gets dirty, get a clean one. You are trying to remove the extra paste, not just smear it around. Continue wiping until you get the desired look. The wool skins should get progressively cleaner. The only reason I went to using a paper towel for the first wiping was to save wool skins. I use them for the final cleans and buffing of the paste.
After letting it sit a little, I will rub over it again to kind of buff the high spots. Now it should match pretty close to the other one.
I come back and put a layer of Neat-lac or Tan Kote over it and call it finished. Now I have to glue and sew the liner on and rub and dye the edges. I have antiqued after sewing before, but it will discolor your thread and pack paste down in the holes. Sometimes this may be the look you are going for but not always. There are also times when you try to distress the leather. This can be anything from rubbing it in the dirt to taking sand paper to it. I know some guys that do movie stuff and they want the leather to look already worn in. I've seen a guy drag a pair of brand new chaps behind his truck in the dirt for a rough look. Trial and error is how you learn a lot of this. Take care, RW
Subscribe to:
Posts (Atom)